Table of Contents
Changelog
- 2025-05-31
- Minor updates based on some adjustments I’ve made as I dig deeper into macrame 2025-05-23
- Initial publication
How I Macrame
I’ve finally made enough progress with Macrame and related to start publishing my work. This post goes through the ‘why’ of my interest, my current tools, organization practices and more. It’s a general run down of what I’ve put together in order to practice macrame effectively.
As always: this is what works for me and the below should be adapted to individual need as appropriate and/or desired.
Why Macrame?
Some folk I know are interested in Shibari and after looking into the topic; I realied I was interested in the art form as a creator. I also immediately identified the utility of the fundamental skills behind Shibari (aka: macrame) and how the skills can transfer into creating useful things such as cat collars or wraps for books or any number of other things.
Bascially Shibari caught my interest and I realized that it’s an advanced form of macrame and macrame is an art form that very much ‘clicks’ for my brand of ‘art brain’.
Macrame allows creative expression as well as the creation of useful things. My ‘art brain’ stinks at creating pure art and requires whatever I’m creating to be both artistic and useful. Macrame fulfills this need beautifully and my brain pushed me to dig deeper.
Macrame also allows me to learn some useful rope skills that apply in other context such as lashing down a load in a truck bed, making nice ribbon bows, temporary tool handles and a lot more.
Longer term I’d like to explore Shibari as a creator but the fundamental skills to be both effective and safe with Shibari take time to develop and I’ve not gone down this path [yet].
Learning Materials
To learn macrame I started with the absolute fundamentals: learning knots and rope work. The best resource I’ve found is the Ashley Book of Knots. It holds up very well despite being published before synthetic rope was invented. I’ve gone through this book multiple times, traced a ton of knots that fit with my artistic style and/or have utility for non-macrame applications, etc. It’s worth every cent.
Additionally I’ve dug through plenty of online resources, how-to guides and video guides. Interestingly most of these guides are using knots documented in the Ashley Book of Knots. This is helpful as I can trace the knot from the Ashley Book of Knots as a quick reference and use the online resources to learn how to tie the knot if it’s not clear in the Ashley Book of Knots.
Another win for online resources is I can see how others are using fundamental knots to create bigger projects like bracelets, baskets, wraps for items and more. This extra insight has helped me greatly, especially as I think about how I might want to use a given knot as part of a bigger project.
Analog vs. Digital
Given my adoration of analog methods as well as my health hassles forcing me to use digital methods, I’ve come up with an ‘odd’ way of managing my macrame hobby.
I keep an A6 ‘quick reference’ notebook in my primary hardware organizer, an A5 notebook that functions as a ‘common book’ and I added a macrame zone to my Digital Art Composition Book. This allows me a lot of flexibility despite some overhead keeping the two in sync.
I use digital to organize my thoughts, track projects, catalog reference material and generally churn through my thoughts. I use analog for permanence and for reference when working on projects.
In the digital realm I have spots for active projects where I document my thoughts as I work on things, I track ‘interesting resources’ that I want to follow up on, I track any knots or processes I want to learn and similar concerns.
In the analog realm I keep track of the ‘final form’ of the digital via an A6 notebook that tracks highlights and an A5 common book with fuller details and notes of everything I’ve tracked digitally.
Additionally, I trace all knots from the Ashley Book of Knots that I’ve flagged digitally and I print out – on A5 paper using a laser printer – any online resources such as quick references that I’ve flagged digitally. I keep these documents in A5 kraft paper envelops in order to avoid unnecessary wear and to help stay organized.
Note: I track individual knots from the Ashley Book of Knots digitally. I scan my tracings and set them up as dedicated notes in my digital art comp book for reference purposes. I originally took screen shots of the knots from a PDF but I found my tracings to be more engaging for my brain. The key here is that I have individual knots from the Ashley Book of Knots documented in both digital and analog forms.
The last thing I do is I use an A5 kraft paper envelope for my current, active project that contains all reference material related to the project. This allows me to grab some materials, the reference material and start working on my project without any real thought. Once I’m done with a project I return the reference material to their proper, main envelopes.
There is some overhead keeping the digital and analog in sync but I find this to be non-problematic in practice. Especially since I refuse to have my phone or other ‘digital screen’ for reference when working on an analog project. If I’m faffing about with an analog medium such as rope, I want pure analog reference material and the like. It’s a ‘me thing’, definitely adjust this if desired and/or appropriate.
Workflow
I have a pretty straight forward set of workflows. They all work togther to help me learn and make progress on projects.
The main ‘work’ of research, cataloging and organizing my thoughts is performed digitally on my computer. I regularly loop back to these tasks based on information I see posted online, based on need and similar. I live out of my digital art comp book for these tasks. The digital acts as something of a second brain and external processing of ideas for me.
Once I have digital information put together; I convert it to analog via tracings, print outs and similar. I catalog key info in my A6 and A5 notebooks as I feel appropriate and I ensure any reference material is setup as a tracing or quick reference printout. This is for permanence and long-term archival reasons as well as for practical reasons noted below. These analog materials form the basis of what I use when working on projects and when engaging in deliberate practice or spaced repition.
When I engage in deliberate practice or spaced repition I will pull out the appropriate tracing or quick reference, grab my hardware / tools (see the Hardware / Tools section for specifics), some materials and find a nice place to sit and work.
When I work on projects I grab my A5 project envelope, grab my hardware / tools, put necessary project materials in a bag and find a nice place to sit and work on the project.
I like the simplicity of the above and it’s proven to be an ideal approach for me.
Materials
Before getting into my hardware kit, I’d like to note the materials I’m working with and why.
Basically I work almost exclusively with paracord currently. The reason for this is that it’s affordable, durable and can be safely used to create cat toys. I buy in bulk (100ft minimum per cord style/color) and use spools to keep it organized.
I also use Sisal Hemp and Olive Wood in some cat toy related projects. Sisal is a great material for creating ‘cat scratchers’ and is the most common rope type you’ll see used for cat scratching posts and similar. Olive wood has similar properties to catnip and won’t splinter in ways that are dangerous for cats. I’ll use olive wood for ‘cores’ for things like Monkey Fists and other items that ‘wrap around’ an inner core.
Important!
This is not hyperbole!
When choosing materials and techniques for creating animal (cat / dog / others) items (toys / collars / etc) you need to be very careful. Some materials are just dangerous and should be avoided. Some techniques are just a disaster waiting to happen.
The kind of dangerous disasters that’ll put an animal in an emergency health scenario or outright kill them.
Some Examples:
- Certain ropes can be toxic to animals if chewed on.
- Some rope is too ‘rough’ for some projects. For example: various types of hemp rope can tear up an animals mouth when chewed on, it should not be used to create chew toys.
- Some rope is too ‘soft’ for some projects. For example: paracord is a terrible choice for cat scratchers, various types of hemp should be used instead.
- Certain woods will splinter in ways that can seriously injure, maim or kill animals when chewed on.
- Some projects, like collars, need to be adjustable by design. For example: kittens grow fast and if they are wearing a non-adjustable collar… they can be choked by their own collar after having an overnight growth spurt.
Managing Materials
Please see Bindings and Lashings for details on how I manage rope for learning, projects and more.
Hardware / Tools
Below are the hardware and tools I use for macrame. It should be noted I try to keep things minimal and utilitarian in nature. This allows me to work on my macrame projects pretty much anywhere and in small spaces.
It should be noted: I do not carry The Ashley Book of Knots, A5 common book or main A5 envelopes with me to locations away from my desk. I mainly use these at my desk as they take up a lot of space that I may or may not have when away from my desk. See the above Workflow section for additional details.
The Details
- A paper copy of The Ashley Book of Knots
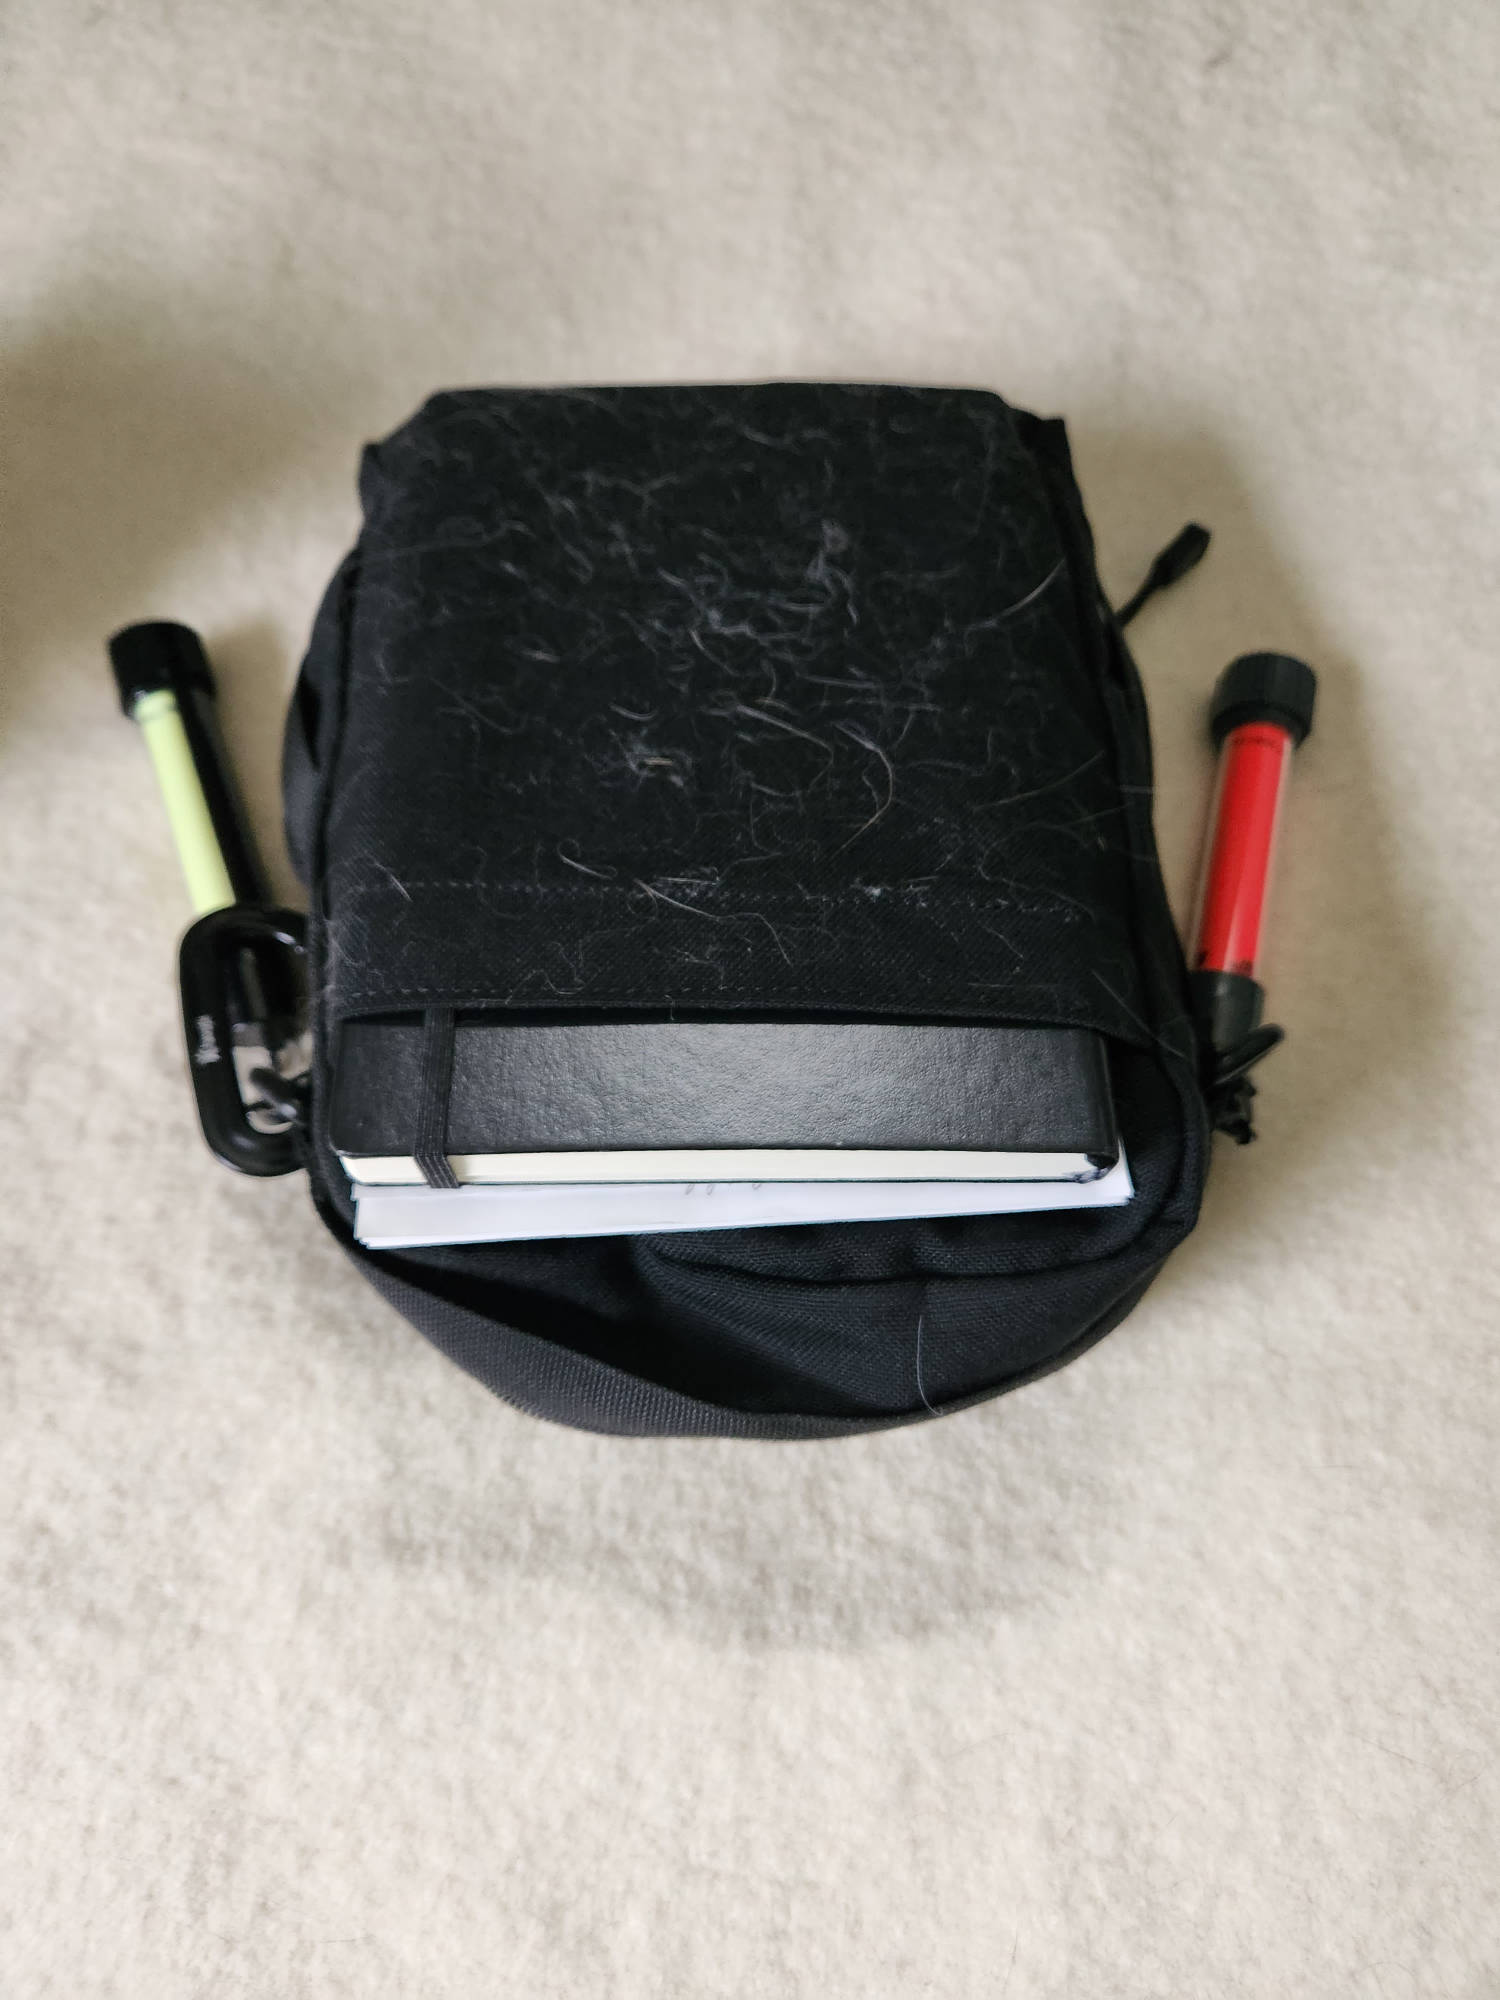
- Leuchtturum1917 A5 notebook as my analog common book
- A5 kraft envelopes for storing tracings, print outs, in-progress project ’notes’
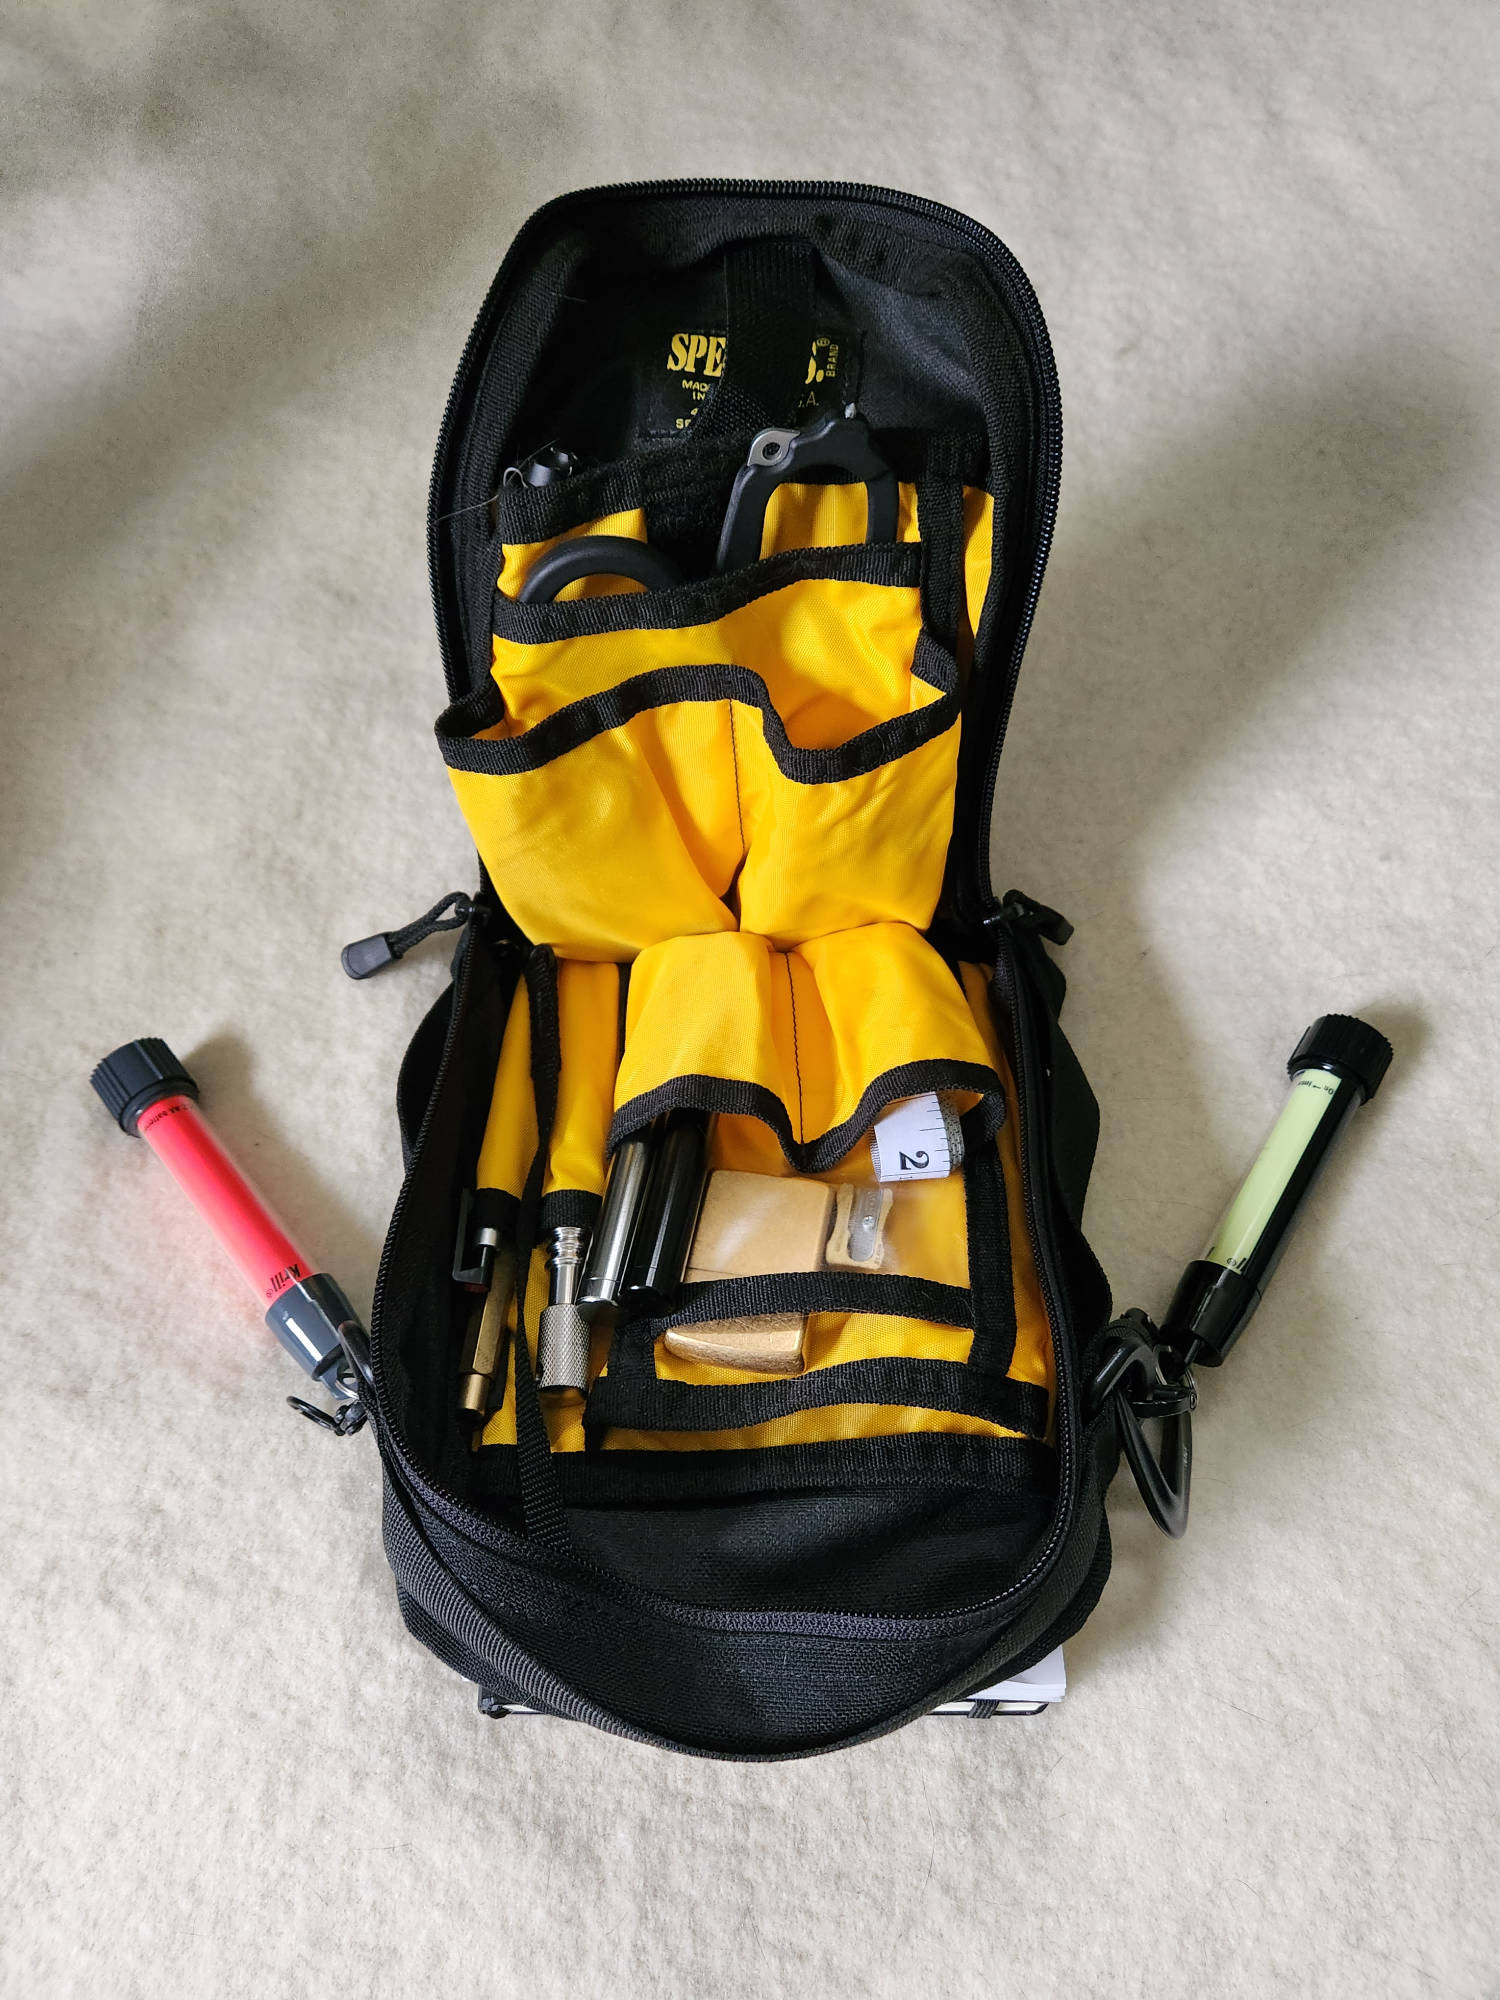
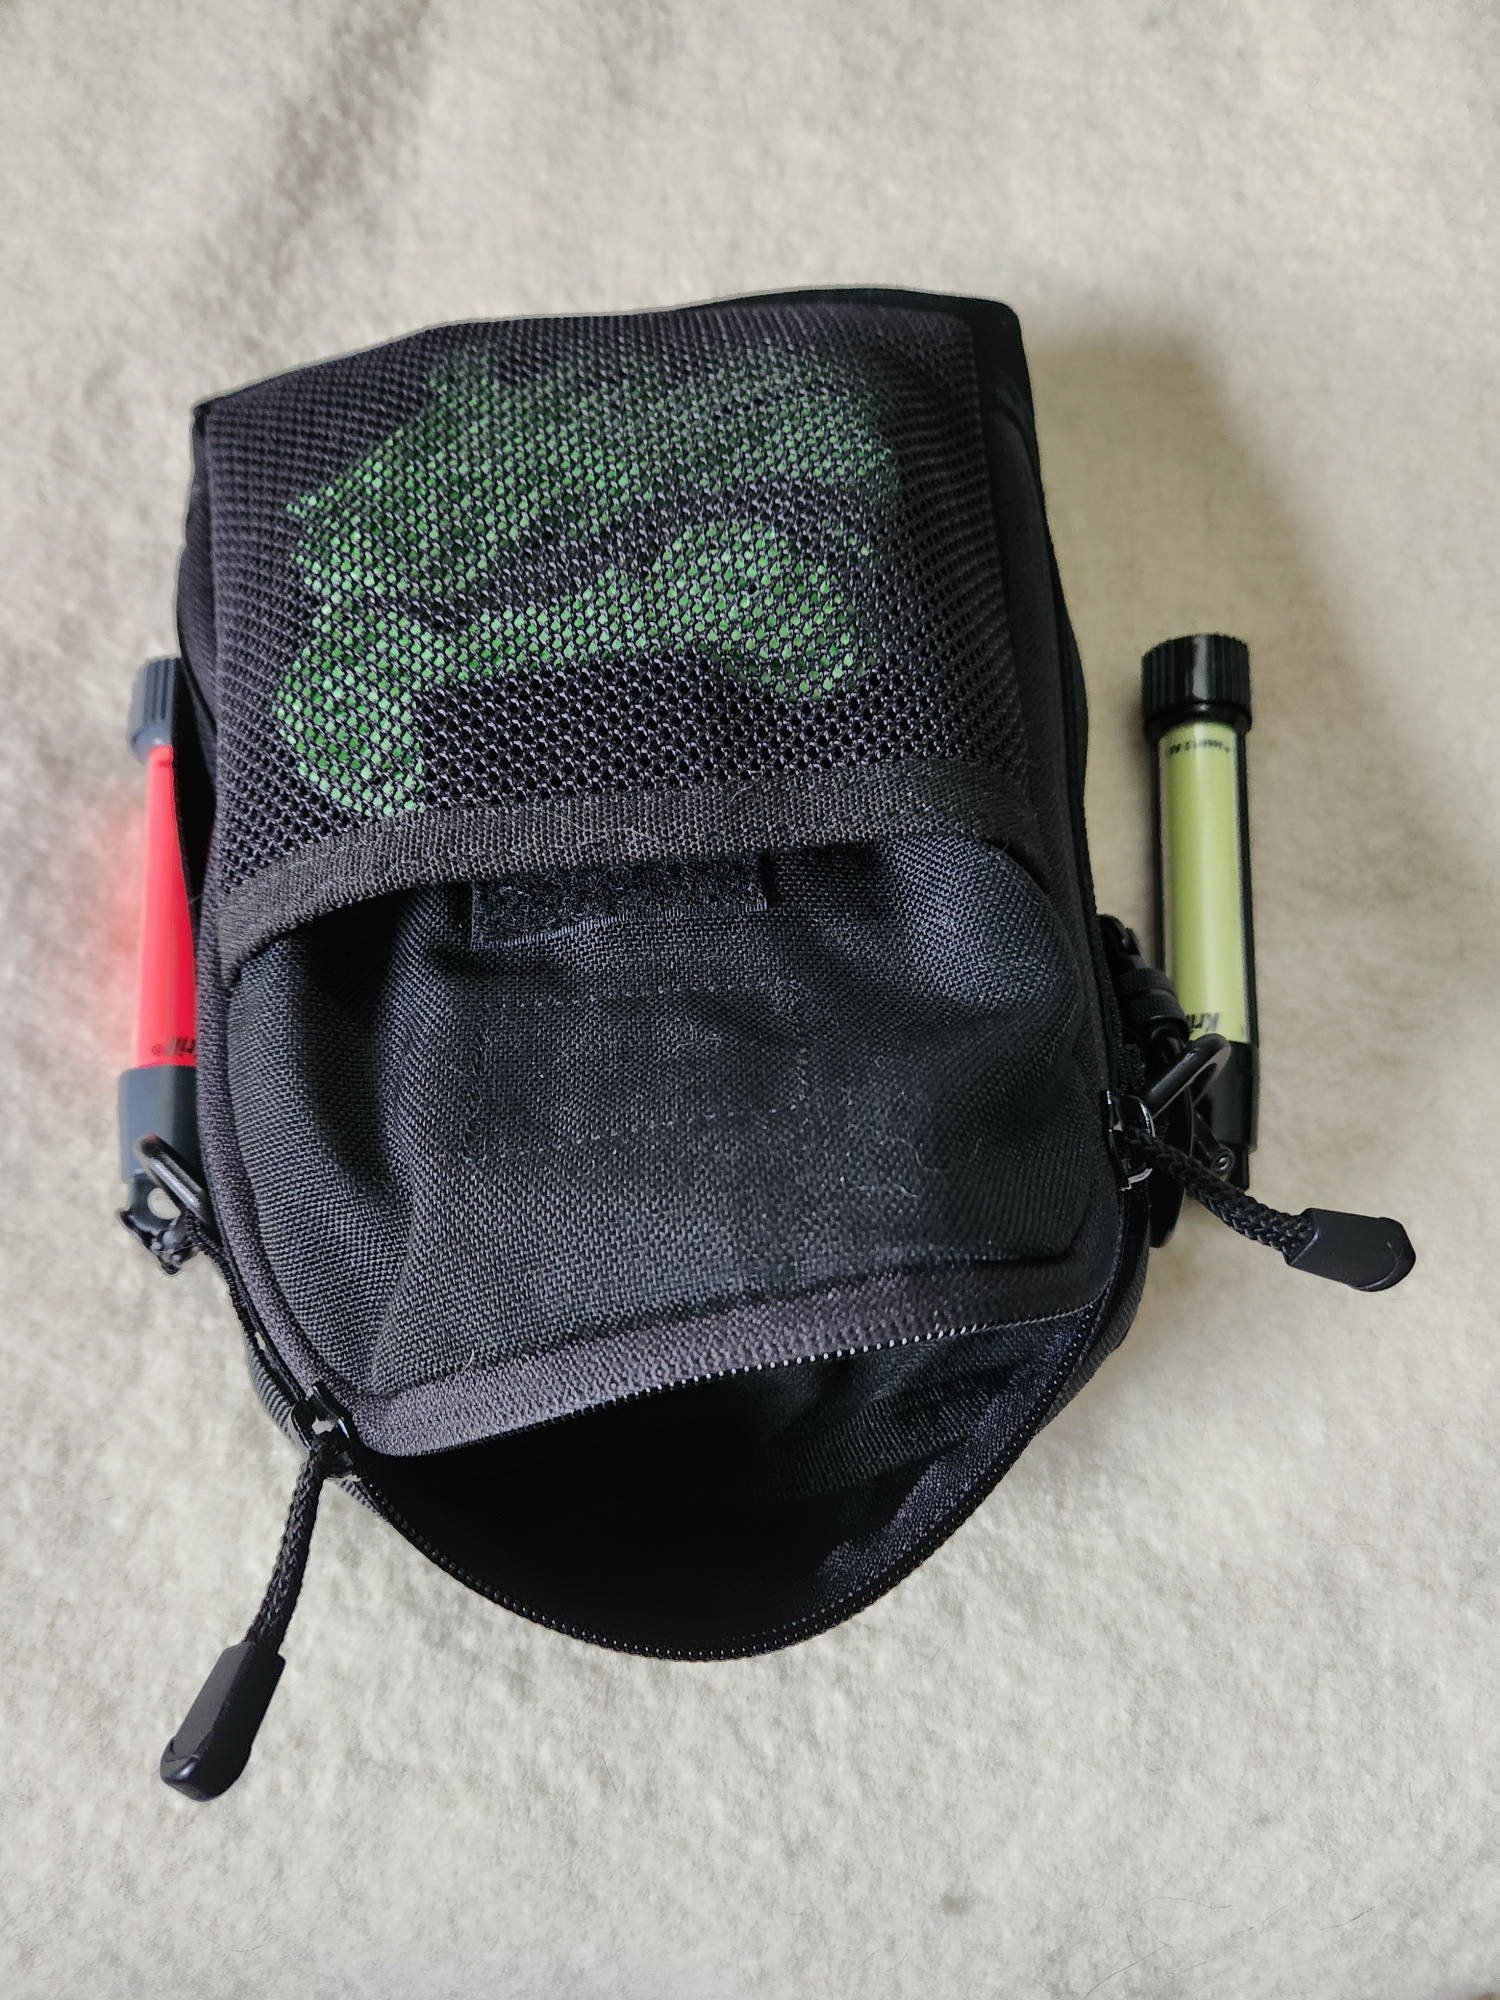
- Spec Ops brand pack-rat organizer
- Rite-in-the-rain mini notebook (it’s roughly A6 sized) for highlights and quick reference
- Metal marlin spike with hollow handle for storing fids
- Fids (lacing needles)
- Leatherman Multi-tool
- Leatherman Raptor shears
- Fabric measuring tape
- 2mm lead holder
- Refillable butane lighter
- AA Krill light for working at night w/o overhead lights
- Caribeaner
Summary
All considered, I have a very basic, yet flexible, setup for macrame work. I could get fancier or more involved but I’ve found large, involved setups to be far too distracting and fiddly.
I’ve avoided bracelet jigs, monkey fist jigs and similar items because they take up more space than I want and aren’t strictly necessary for the work I’m doing. This may change in the future but I doubt I’ll be obtanining much more in the way of gear long-term.
Instead I just use a small organizer and go about my tinkering pretty much anywhere I desire.
Exactly what I want.