Table of Contents
Changelog
- 2025-05-25
- Initial publication
Cat Scratcher Rewrapping
It’s surprisingly easy and cheap to re-wrap a cat scratcher. The hard part is finding a technique that’s straight forward, easy to learn and doesn’t require specialized hardware (tools).
The below outlines a way of re-wrapping cat scratchers that fits the criteria. The only special tool needed is a fid (lacing needle) as the finishing step that holds everything in place needs the rope to be laced through the main whipping wraps. Thankfully fid’s are not expensive and easily obtained.
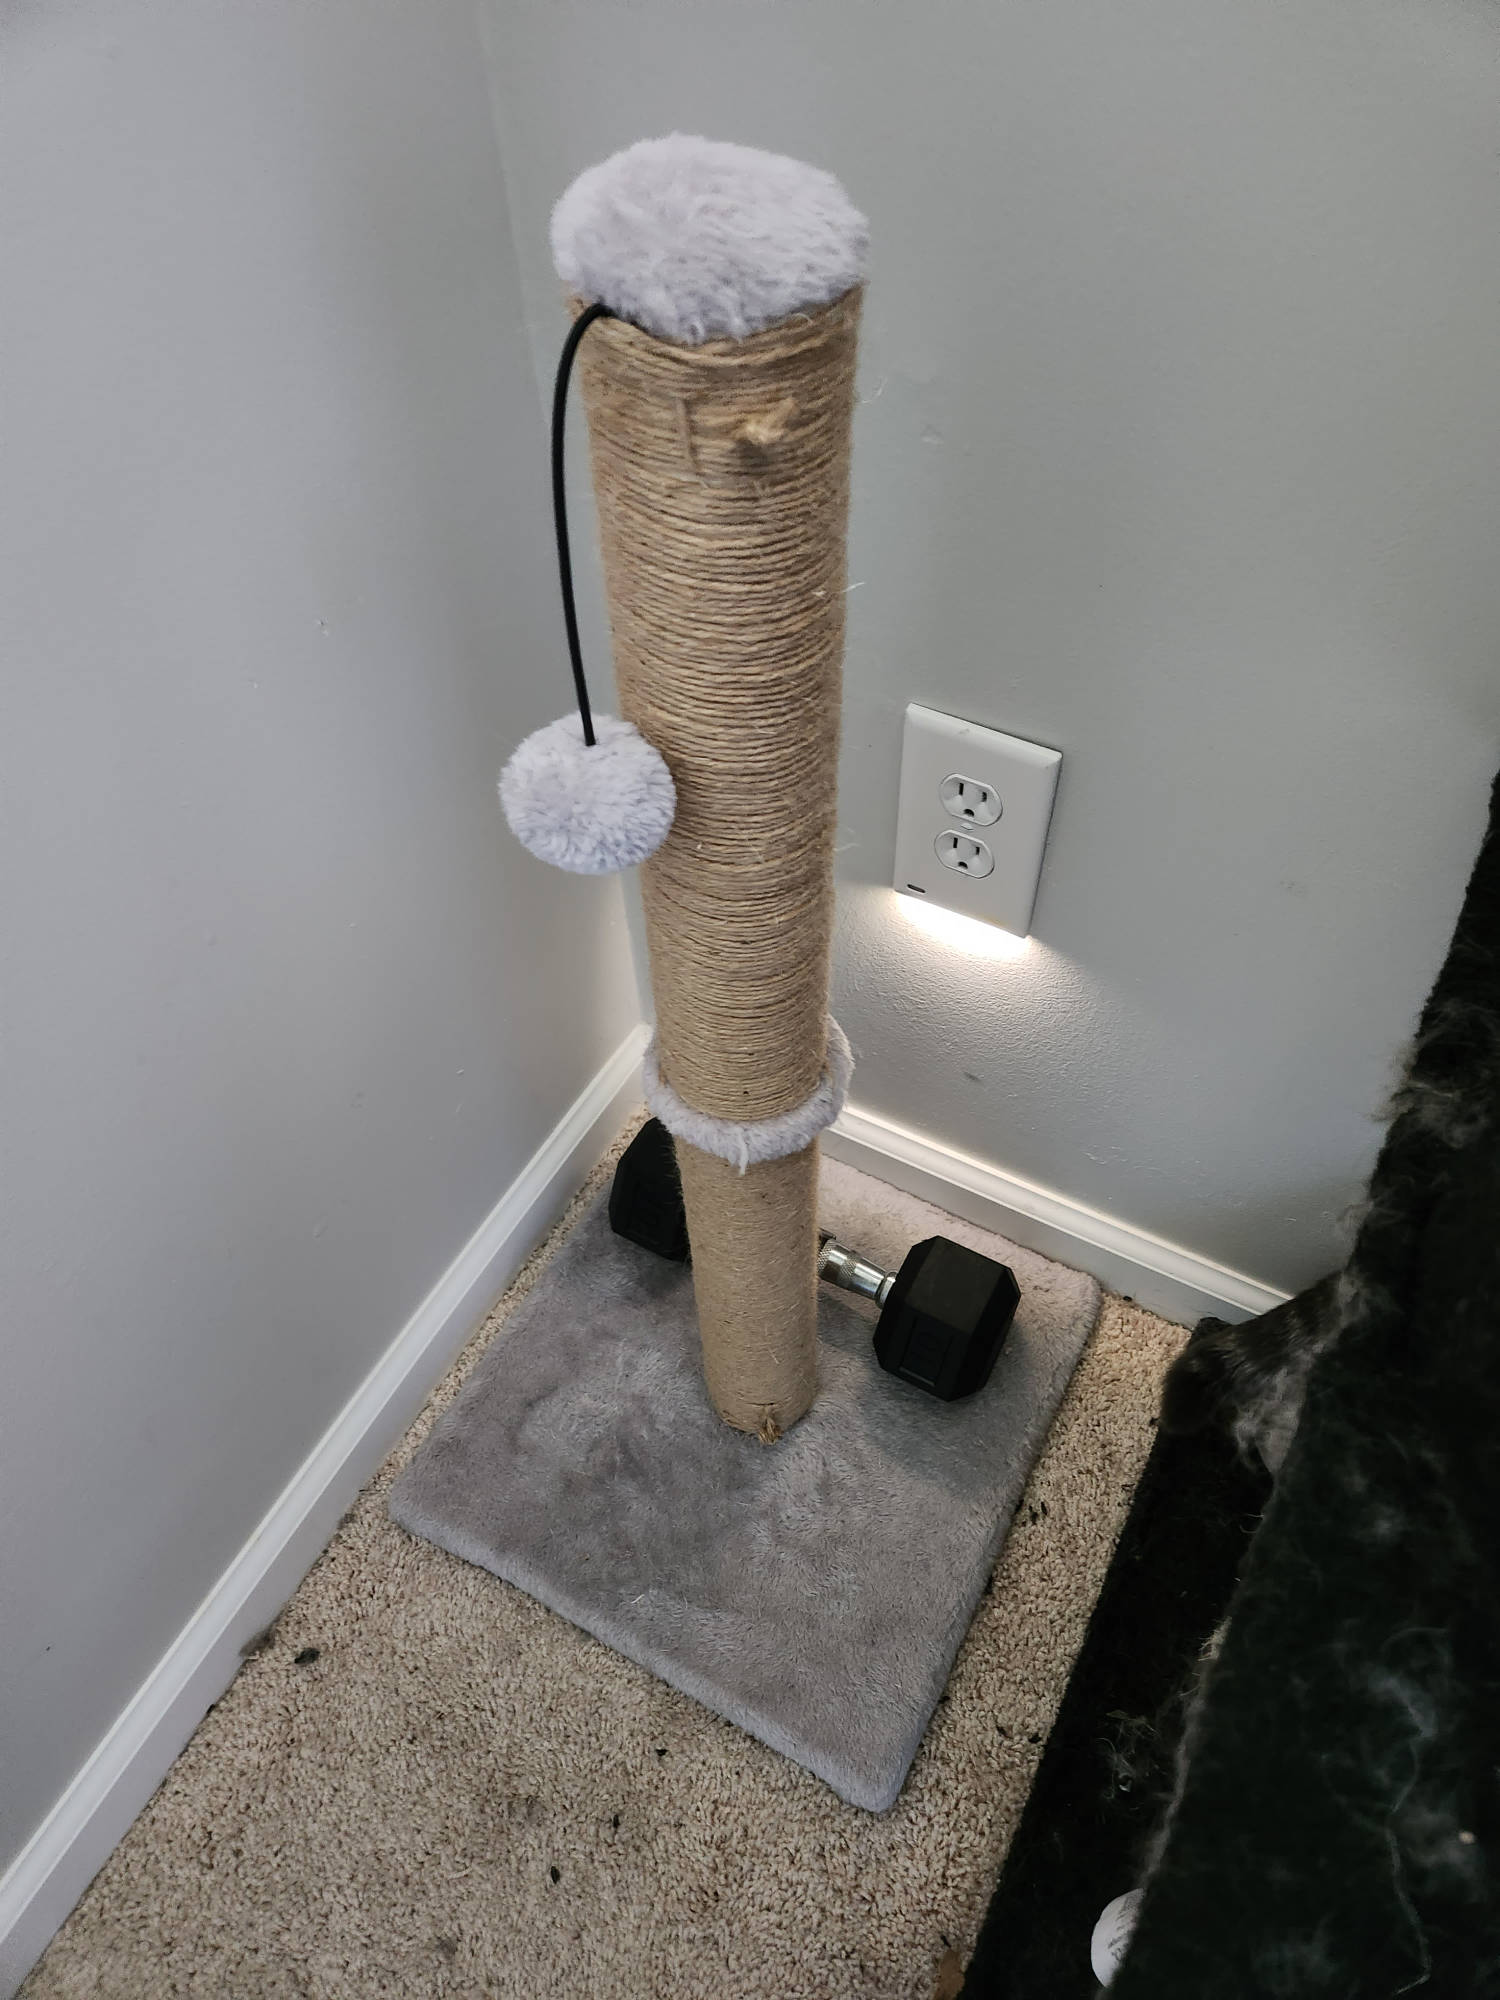
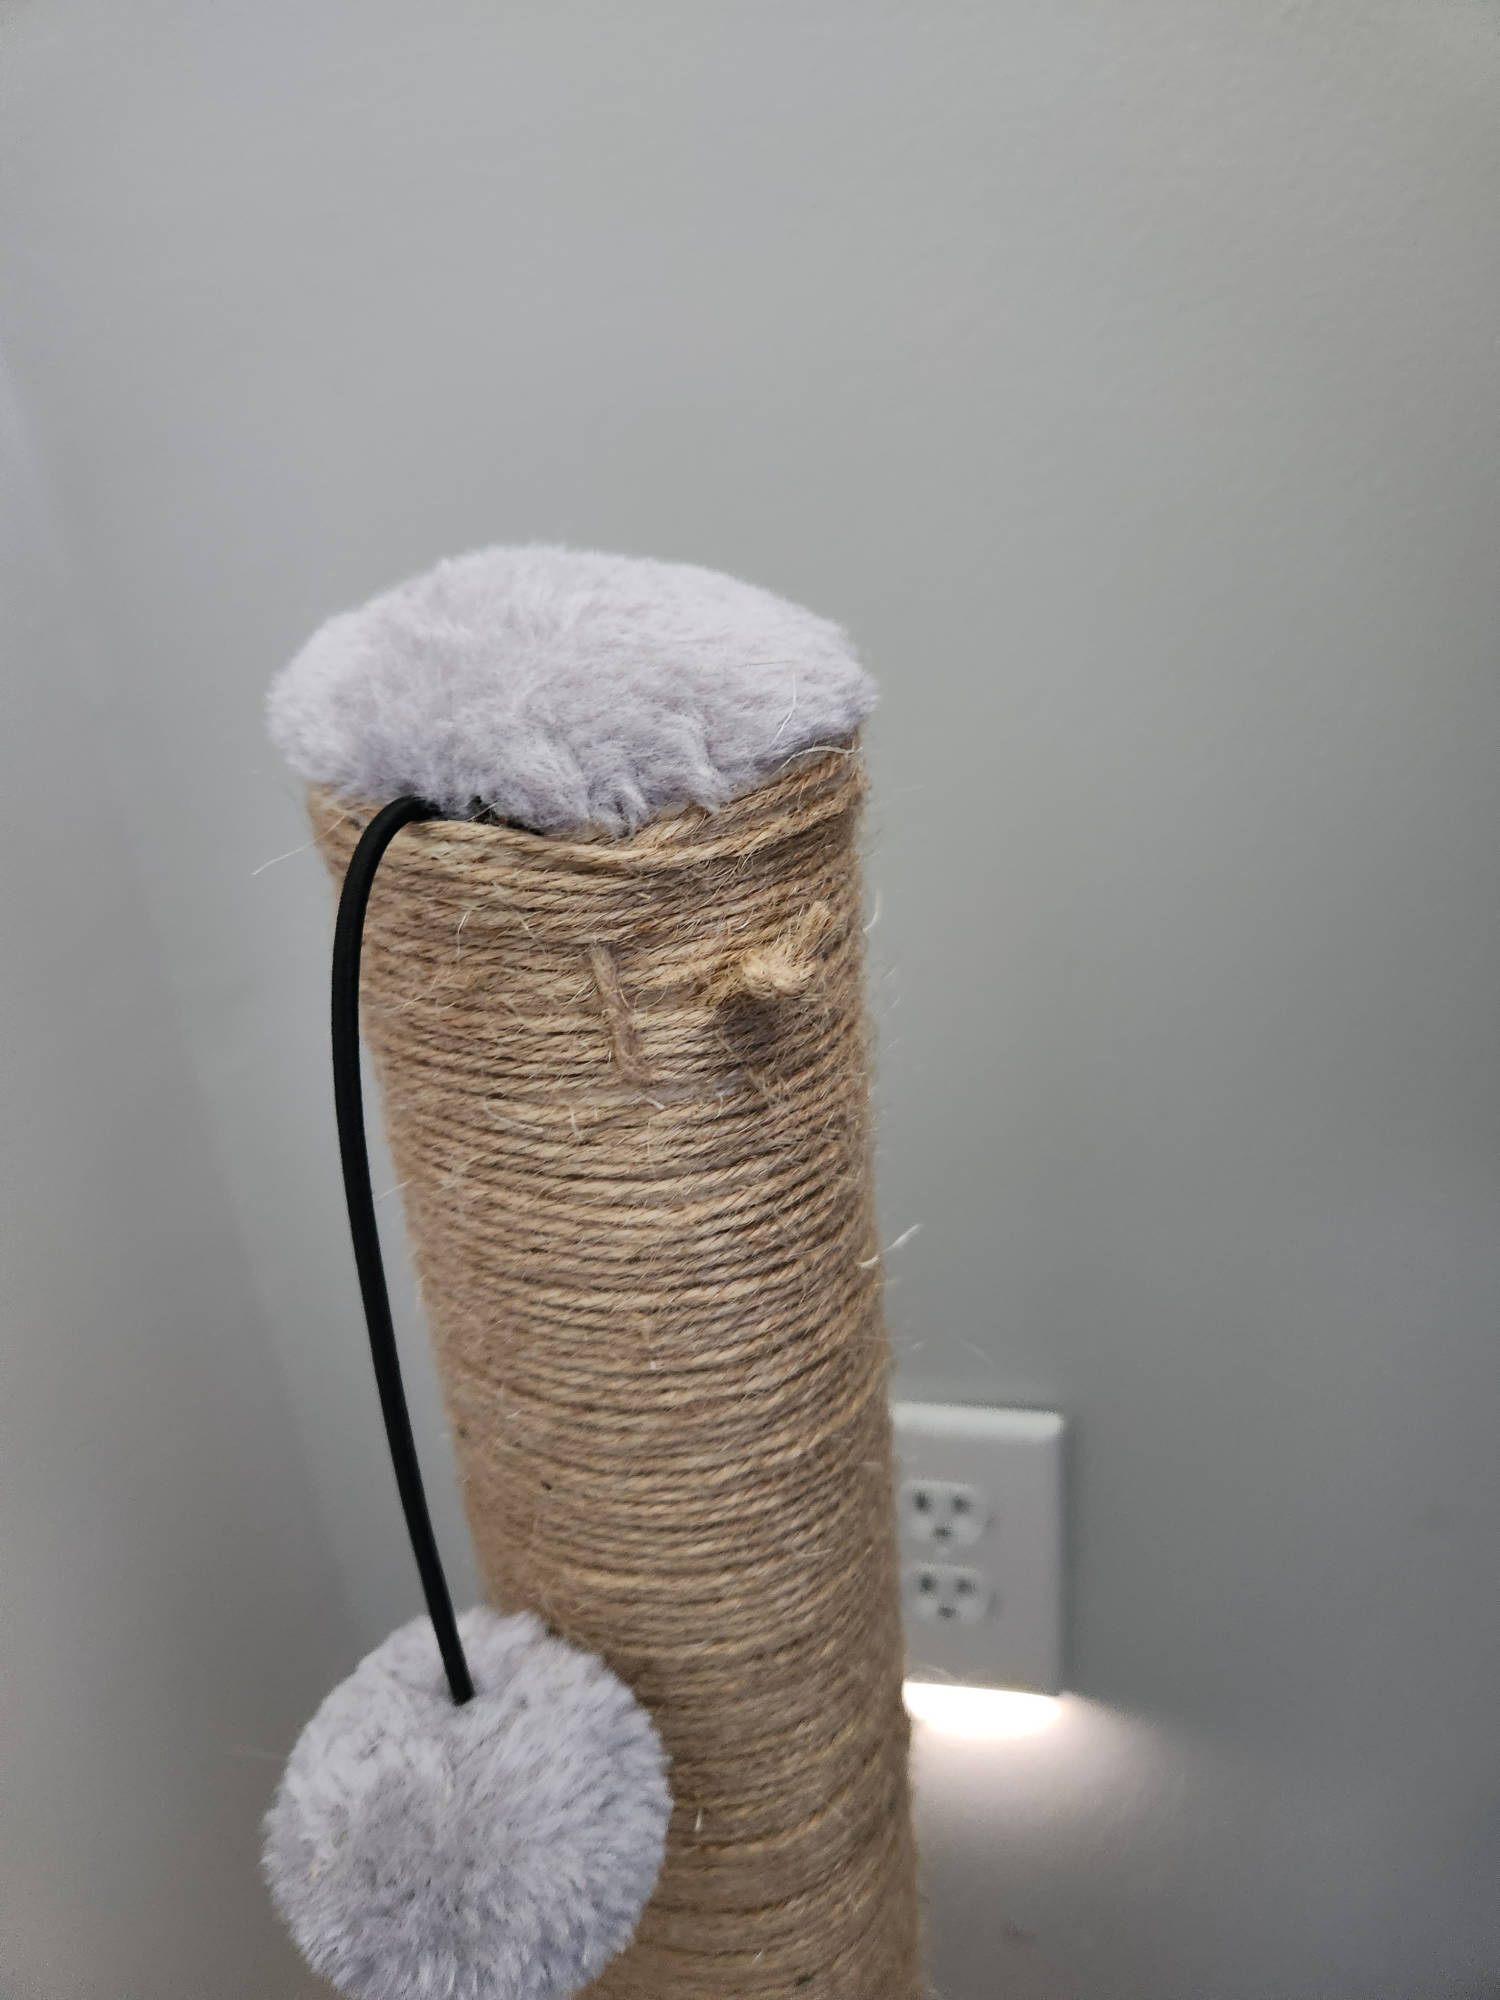
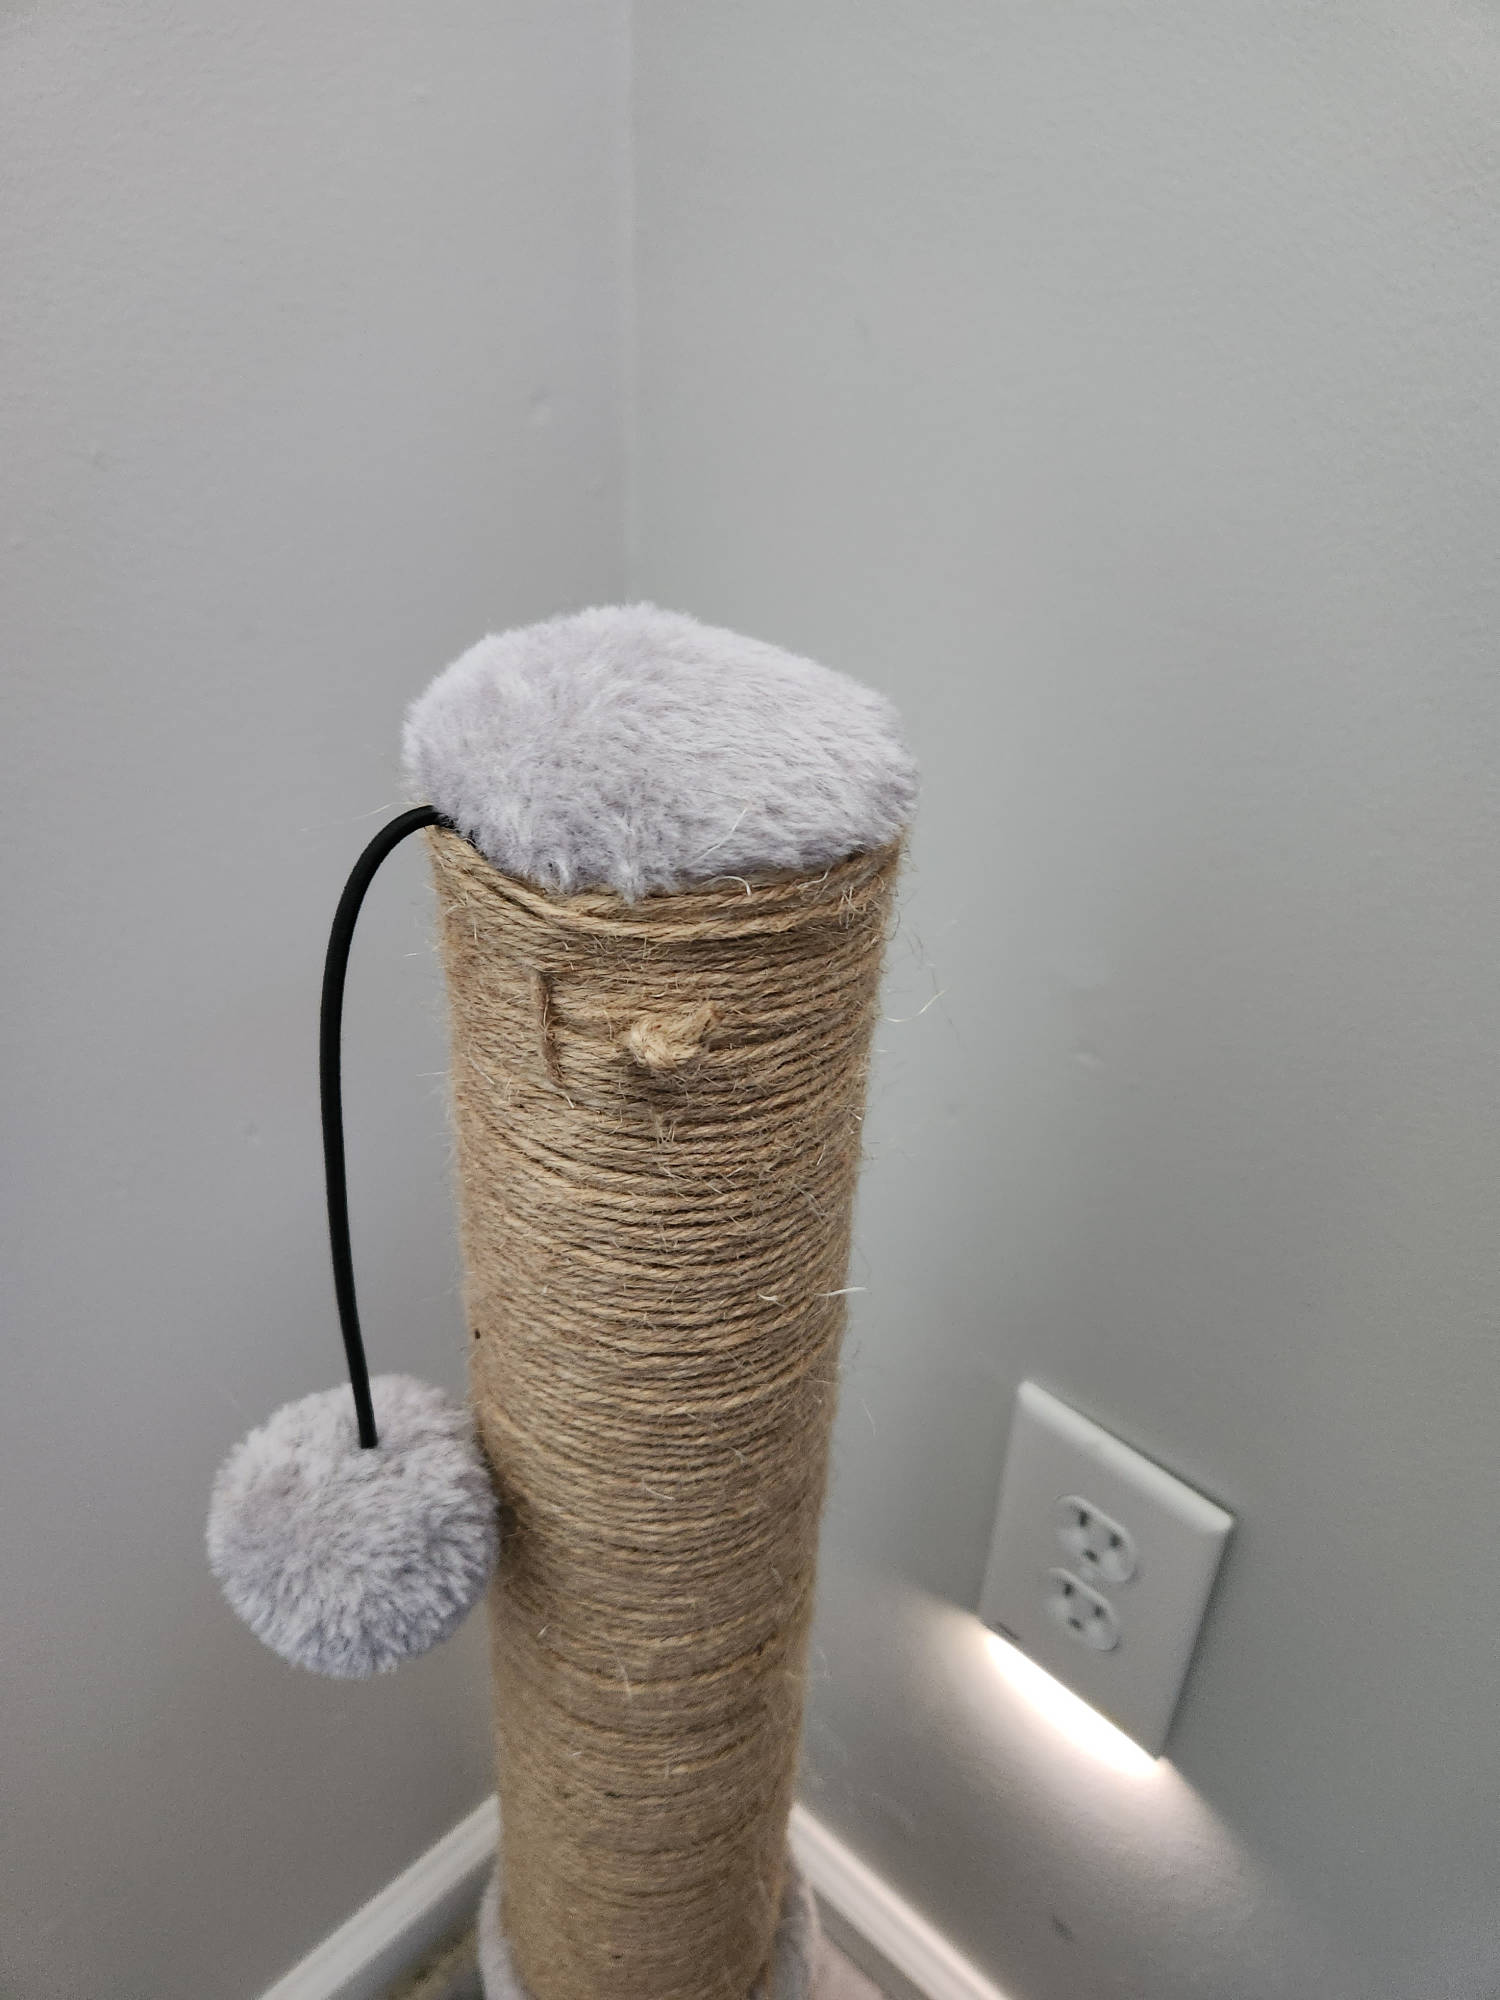
The below outlines the information needed to re-wrap a cat scratcher and has a gallery showing the results of a re-wrap.
Hardware
- Fid for lacing tails through the whipping wraps to complete the whipping
- Pliers for removing staples
- Knife or scissors for cutting away original material
Materials
- Sisal or Jute rope @ 1/8 inch thick
- 100 - 150 feet of rope for common scratch post pieces (3 inch diameter, 15-16 inches long)
Prep
- Note: remove any staples as you work on removing original material
- Remove any existing rope wrapping
- Remove fabric up to the ends of the tube that is being worked on
- Fabric transitions just waste space and get shredded by claws over time
Techniques
- Sailors Whipping - 3443
Note
Other whippings can work for re-wrapping but they tend to be difficult to use or more complex than needed for the task. The Sailor’s whipping is the most effective and efficient of all the whippings I tested.
- Oysterman’s Stopper - 526
Note
Other stopper knots can work for tying off the whipping tails. Just be sure the knot is bulky enough to prevent the tail from being pulled back through the wraps. For example: the Figure 8 Knot (ABoK #520), a common and easy to tie stopper, is not bulky enough for this purpose – based on my tests – and is why I chose the Oysterman’s Knot as a stopper.